Tiếng Việt
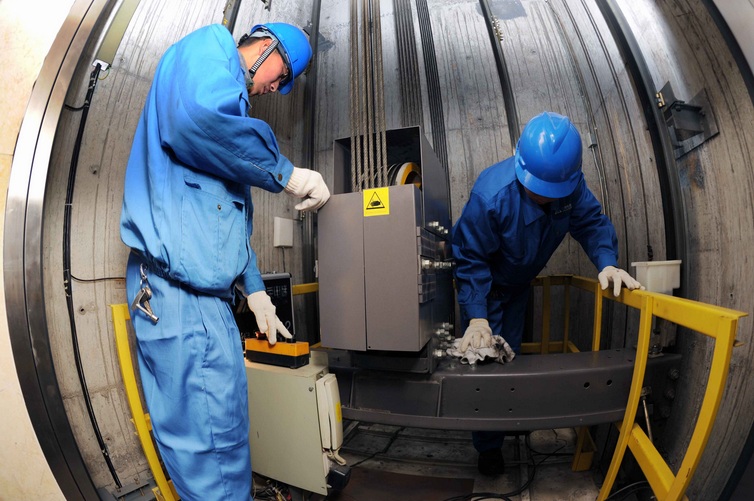
The installation will be done by 02 construction teams including the mechanical installation team and the electrical installation team, each team includes 03 people, each team is responsible for the under the supervision of the Project Management Board.
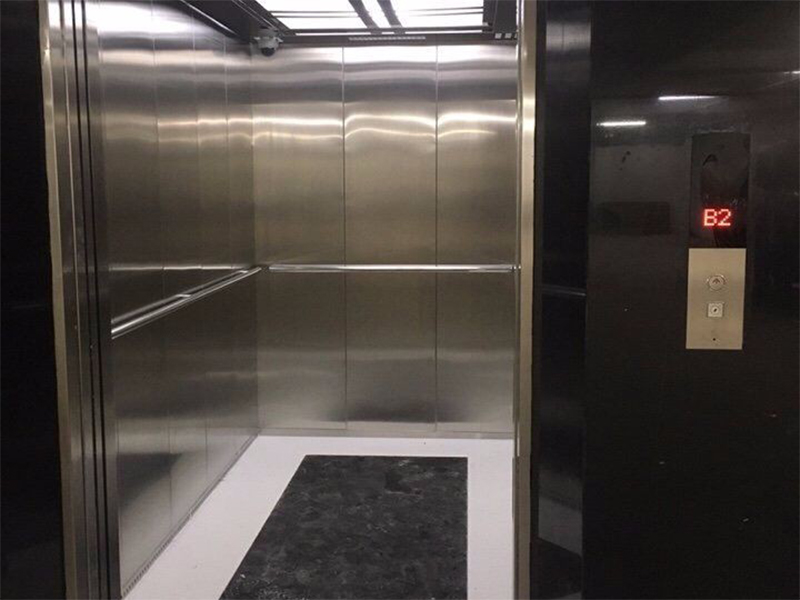
During the construction and installation process, the entire construction site is limited to the pit area, so it does not affect other works.
The order of installation is as follows:
Step 1: Materials are transported to the site and then gradually transferred into the pit, including equipment such as rail cabs, counterbalance rails, channels, tractors, chassi, electrical cabinets, momentum…
Step 2: After all have been placed in the correct position, workers release the plumb and check the exact dimensions and specifications such as the location of the cabin rail, counterweight rail, and floor door. ,.
Step 3: Install the rail, mount the rail in the order from bottom to top, the rails will be fixed with the bass that holds the rail linked with the concrete momentum around the hole. During mounting using the working floor, the floor is raised and lowered by 1 pallet.
Step 4: Install the chassis of the cabin and the counterweight frame. Now use the cabin floor as a working floor. Tractor and chassi are put into exact position. Install the load cable to link the car and the counterweight frame, add poid cast iron to the counterweight frame to balance the load of the ladder, install the governor.
Step 5: Use the tractor, turn hand to bring the cabin frame up and down, install the floor door and cover the floor door, the sequence of mounting from the top down.
Step 6: After completing the floor door, inform Party A to proceed with the construction of the door with the guidance of Party B. The control panel boxes on the doorstep are located during the construction process.
Step 7: Clean the entire pit hole, install the cabin wall and ceiling, the cabin door transmitter, and the cabin door. Raise the ladder to check the correct specifications and add a counterweight poid to balance the load with the cabin.
Step 8: Cleaning and final inspection, then hand over to the power unit.
Step 9: The power unit will be wired to connect the electrical cabinet, the tractor, the electrical wiring system along the hole, the electric wire according to the cabin. Installation of cabin panel, floor panel. Checking of all connected electrical systems is complete. Switch on and run the test at a slow speed for checking and calibration.
Step 10: After checking and adjusting all the specifications as well as the load balance, the ladder is run with no load and then running with full load to adjust the floor balance when stopping. The ladder is run for inspection for 03 days, then full cleaning is carried out to prepare for the inspection.
Step 11: Party B will notify Party A to conduct the acceptance in writing 03 days in advance. After handing over, Party B is responsible for guiding and training Party A’s staff on how to use and rescue the ladder.